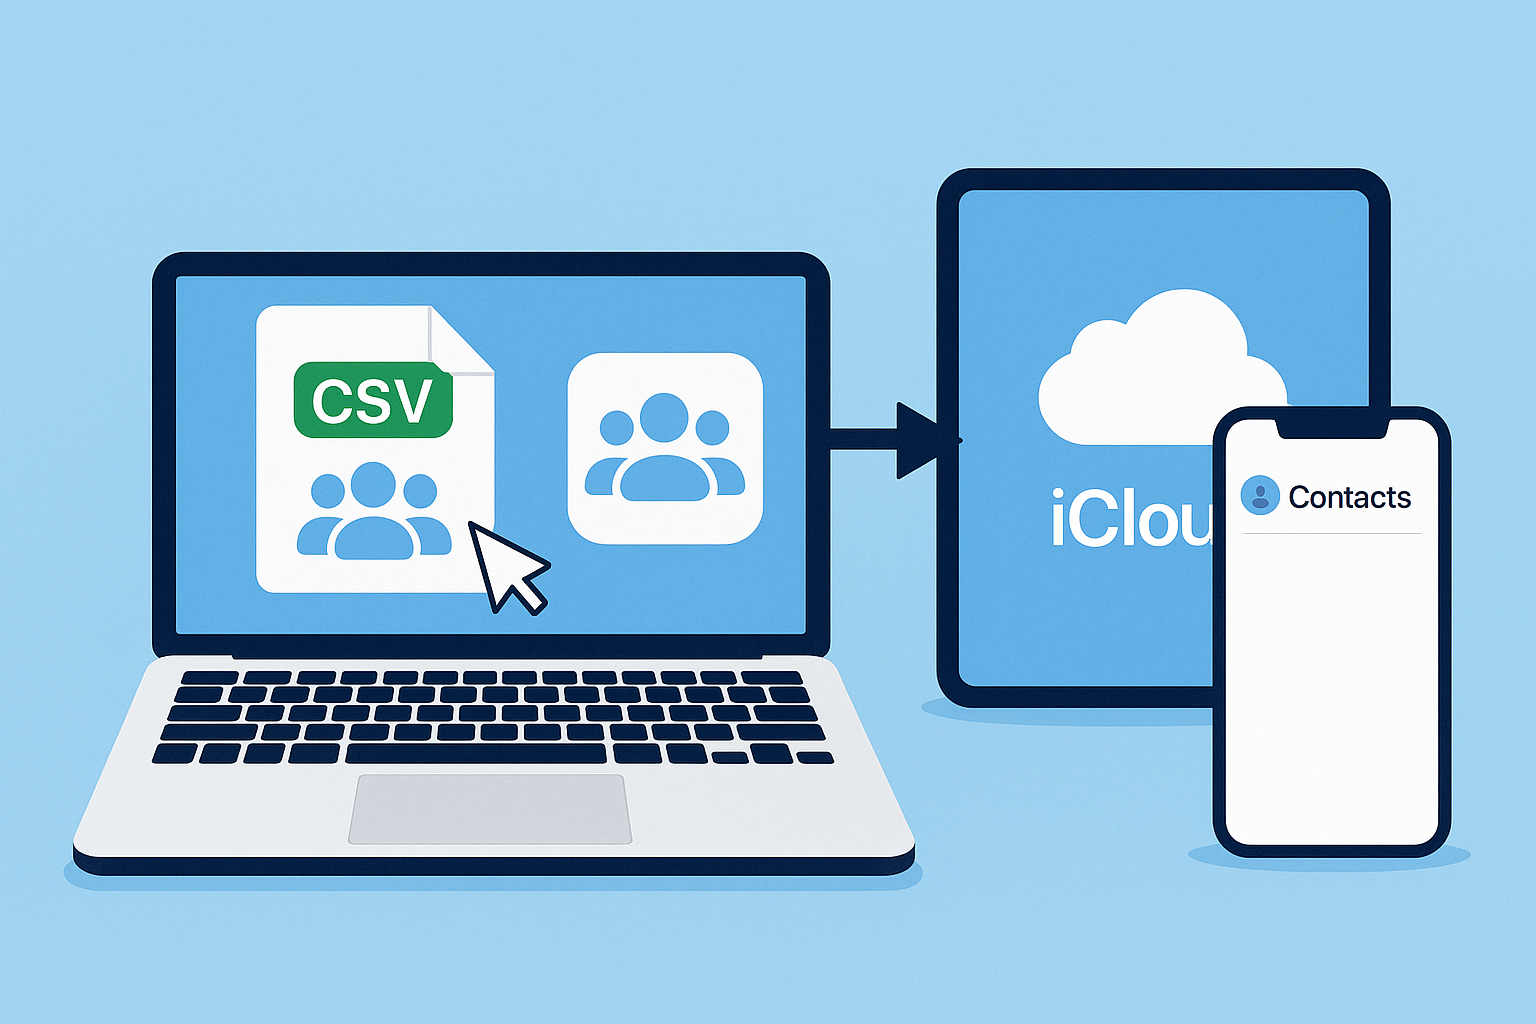
Are you trying to move your contacts from a CSV file into iCloud? Whether you’re switching devices, consolidating contacts from different platforms, or just creating a backup, importing CSV contacts to iCloud ensures your address book is safe, accessible, and synced across all your Apple devices.
In this step-by-step guide, we’ll walk you through everything — from preparing your CSV file to getting your contacts into iCloud successfully.
Why Import CSV Contacts into iCloud?
iCloud is Apple’s secure cloud storage service that syncs contacts, emails, photos, and files across all your Apple devices. If your contacts are saved in a CSV (Comma Separated Values) file — whether exported from Gmail, Outlook, or another app — importing them to iCloud helps:
- Access Contacts Across Devices: Once imported, your contacts instantly appear on your iPhone, iPad, Mac, and even online via iCloud.com.
- Create a Backup: Even if you lose your device, your contacts remain safe in the cloud.
- Enable Seamless Syncing: Any changes made on one device will reflect everywhere automatically.
- Simplify Transitions: It’s perfect for those moving from Android or switching between services.
What You’ll Need Before Starting
Before you begin the process of importing CSV contacts into iCloud, gather these essentials:
1. Your CSV Contact File
Make sure your file includes headers like First Name, Last Name, Email, Phone, etc. Clean up duplicates or unnecessary fields if needed.
2. A Computer with Internet Access
You’ll need a Mac or Windows PC to complete the conversion and import process.
3. An Apple ID and Access to iCloud
Visit https://www.icloud.com and ensure you can log in to your account.
Step-by-Step Guide to Import CSV Contacts to iCloud
Unfortunately, iCloud doesn’t support direct CSV uploads, so we’ll first convert your CSV file into a vCard (.vcf) format, which Apple devices recognize.
Step 1: Convert CSV to vCard (.vcf) Format
This is a critical step. There are two methods: using online converters or using the Contacts app on Mac.
Option A: Use a Free Online Converter
You can easily convert your CSV to a vCard using tools like:
- CSV to vCard Converter (csvtovcard.com)
- AConvert.com CSV to vCard
How to Use It:
- Visit the converter website.
- Upload your
.csvfile. - Map the CSV columns: Match fields like “First Name”, “Email”, “Phone” to the corresponding contact fields.
- Click “Convert” and download the resulting
.vcffile.
Tip: Some converters allow you to preview your mapping — use this feature to double-check everything is aligned properly.
Option B: Use the Contacts App (Mac Only)
If you’re on a Mac, you can use the built-in Contacts app:
- Open the Contacts app.
- Click File > Import, and choose your
.csvfile. - The system may ask you to assign each column to a contact field — match them carefully.
- Once contacts are imported, select them, then go to File > Export > Export vCard.
- Save the resulting
.vcffile.
Step 2: Import vCard to iCloud
Now that you have your vCard file ready:
- Open a browser and go to https://www.icloud.com.
- Sign in using your Apple ID.
- Click on Contacts.
- In the lower-left corner, click the gear icon ⚙️ and select Import vCard.
- Choose the
.vcffile you just created. - Your contacts will now start importing. Within seconds, they’ll sync to your Apple devices.
Success! Your CSV contacts are now part of your iCloud contact list.
How to Export Contacts to CSV (If You Don’t Have One Yet)
If you’re just starting out and don’t already have a CSV file, here’s how to export contacts from common platforms:
From Gmail (Google Contacts)
- Go to Google Contacts.
- Select the contacts you want to export (or all).
- Click More > Export.
- Choose Google CSV or Outlook CSV.
- Save the file to your computer.
From Outlook
- Open Microsoft Outlook.
- Click File > Open & Export > Import/Export.
- Select Export to a file > Comma Separated Values (.csv).
- Choose the Contacts folder.
- Complete the export process and save your CSV file.
Tips for a Smooth Import Process
To avoid errors and maximize compatibility with iCloud, follow these best practices:
Clean Formatting in CSV
- Use clear headers like
First Name,Last Name,Email,Phone Number. - Avoid using symbols or unsupported characters.
- Ensure every contact has at least a name or email.
Remove Duplicates
Use Excel, Google Sheets, or deduplication tools to remove any duplicate contacts before converting the CSV.
Backup First
Export your current iCloud contacts as a .vcf file before importing new ones. This way, you can restore them if something goes wrong.
Troubleshooting Common Problems
Here are quick fixes for common issues during the import:
“File Not Supported” Error
- Make sure you’re uploading a .vcf (vCard) file — not a
.csv.
Contacts Not Appearing in iCloud
- Refresh the page or log out and back in.
- Make sure you’re signed into the correct Apple ID.
Incorrect Field Mapping
- Revisit the CSV-to-vCard converter and double-check field mapping.
- Use simpler CSV headers next time.
Final Thoughts
Importing CSV contacts into iCloud doesn’t have to be complicated. With the right tools and this guide, you can seamlessly transfer your contacts and enjoy:
- Full access across Apple devices
- Safe cloud backup
- Automatic syncing and updates
Keep your contacts organized, safe, and accessible — anytime, anywhere.
Nathan Matthew is a seasoned tech blogger specializing in email backup and migration solutions. With a keen eye for detail and a passion for simplifying complex tech topics, Nathan helps readers navigate the digital landscape with clarity and confidence. His content is trusted by professionals seeking reliable, easy-to-follow guidance on protecting and managing their email data. When he’s not writing, Nathan is exploring the latest innovations in cloud storage and data security.
